Since moving to Maryland we've laid off the pickles and salsa because folks here aren't as interested in learning how to can and also because I can't con enough people into helping so that its not a giant chore, but we've picked up on our jam production because with minimal effort and cost (so long as you can get the fruit and jars cheap or free) you get a whole lot of product! Don't get me wrong, I don't sell this stuff I'd rather give it away. So when someone helps us out or I just like you, I give you a jar of jam to say Thanks, Midwestern style. Each year I also try to do a new flavor or a new canned item. Over the years we've canned: 4 types of salsa, peaches, rum-soaked spiced peaches, 3 types of pickles, marinara sauce, whole tomatoes, apple sauce, and peach, strawberry, black raspberry, blackberry, cherry, red raspberry, strawberry-rhubarb, blueberry, wine-berry jams and grape jelly.
We will probably can some pickles later on so I can document it on the blog (its fun!), and do apple sauce and hopefully something with peaches. I prefer to pick my own fruit if I'm going to can, but if you can't do that we made some really great blueberry jam this year from the kind we bought at the store. So far we've been lucky and found some wild blackberry patches (THANK YOU STEVE!) and wineberry patches by where we keep the horses. We have also found some lovely orchards where we can pick fresh fruits for similar prices to what you pay in the store. Here is a picture to show you most of the flavors we've made so far in jams.


Now Canning does not require a lot of fancy kitchen items, no matter how much I love new technology, I found out the hard way that if you use it, you may ruin the jam. So here's the list:
A large pot with a grate at the bottom so that your jars don't crack when they are boiled. The image below shows our big pot for processing with my roasting pan rack in the bottom. Matt thought it was "extra" and cut it to fit the pot. Boy was I steamed when I went to make a roast the next time, and boy was he sheepish when he told me what he did with my rack. This was a serious source of contention until a new pan and rack magically appeared.


This is the recipe for full sugar Blackberry jam. We made a double batch, so a couple pictures will look a bit bigger than yours if you only do a single batch.
Ingredients for a single batch of regular blackberry jam:
4 cups of Blackberries
7 cups of sugar
2 tsp butter (optional)
1 pouch of Certo liquid pectin
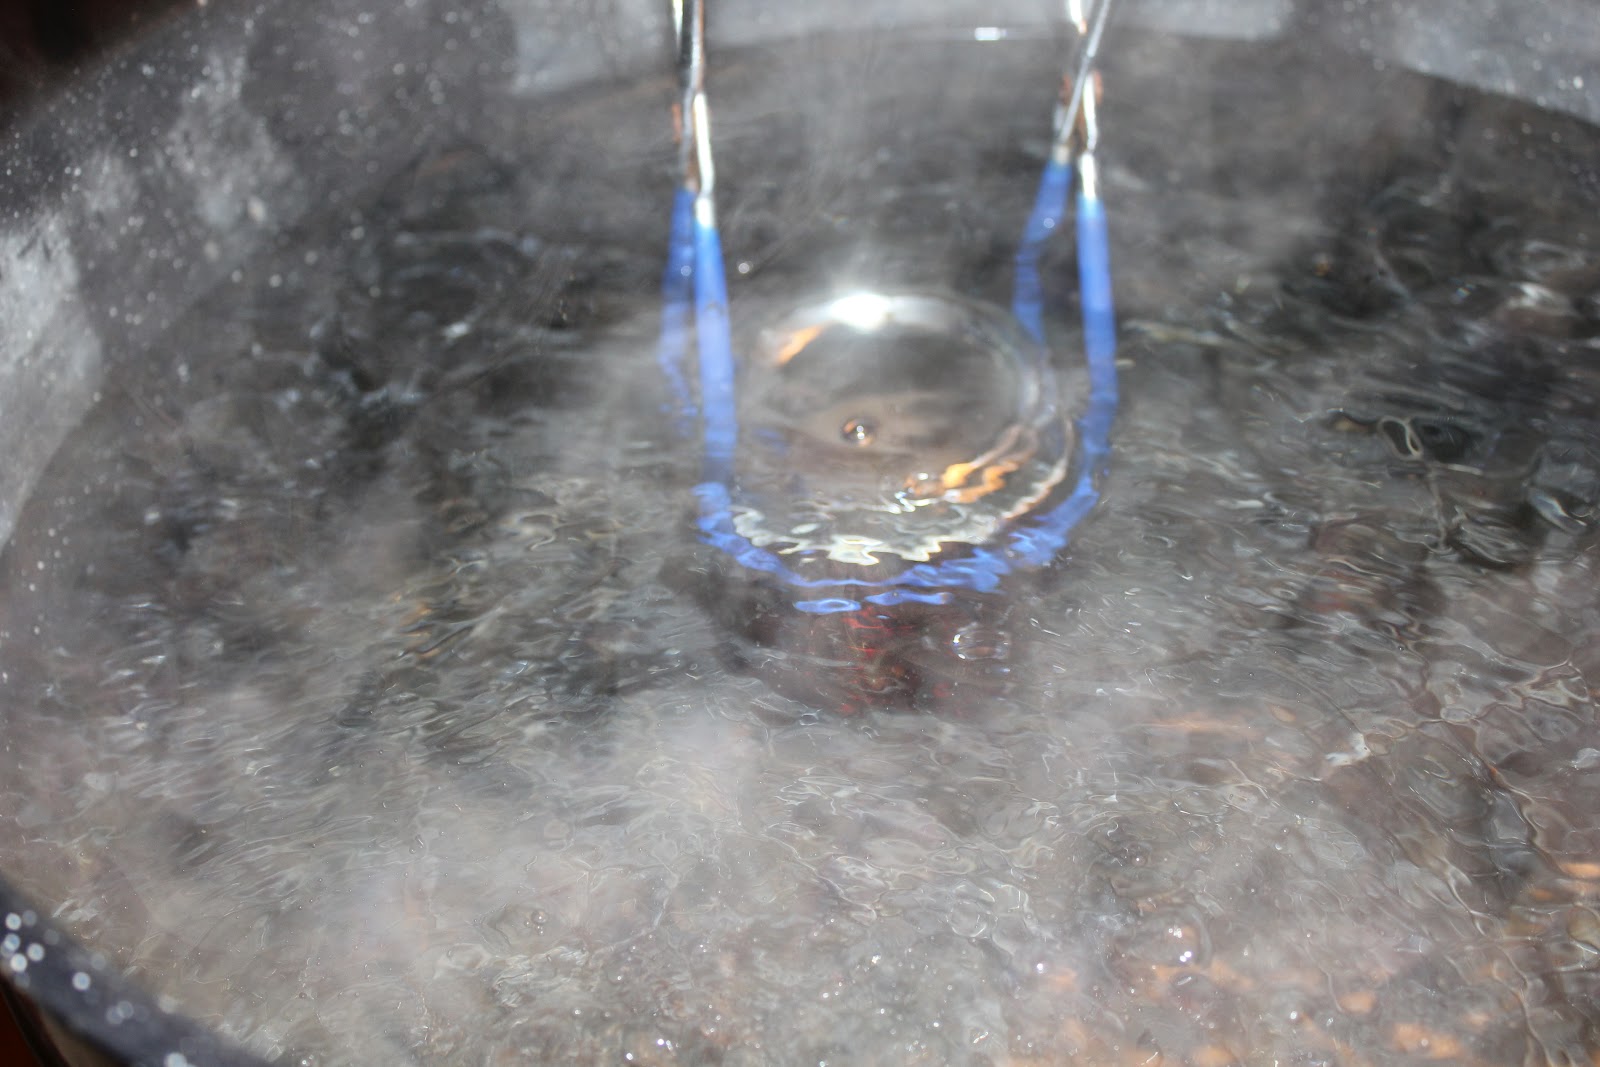
Boil water and pour over lids. Allow lids to sit in the hot water until you're ready to ladle
 |
| Caps in the hot water with the rings beside. |
Measure out 4 cups of berries (these were frozen after we picked them and so we just tossed them in frozen and while the pan was heating they began to thaw as we were mushing them)

Add berries to the big pot and smush up with a potato masher over medium high heat (FIRST NOTE: DO NOT USE A FOOD PROCESSOR FOR THIS! If you do, the jam won't set. I learned this the hard way after making 50 jars of syrup- aka jam that never set).
Add the sugar and keep smushing and stirring be sure not to let the sugar burn on the bottom of the pan. Continual stirring and mashing will keep this from happening.


 |
| This picture is from the double batch so you see 2 streams of pectin |
 |
| Mmmmm! Foam! This makes a great ice cream topping if you have some! |
 |
| And the ladling begins! |


 |
| Almost done! |


Happy eating!
No comments:
Post a Comment