Sunday, December 16, 2012

Oatmeal Scotchies

Hi All!
So sorry for my long hiatus again, but there have been some great trips and some hopefully good changes coming my way in the future, so I've had to focus on other things than my blogging. The good news is I have a number of recipes to post, I just need to find the time to do so.  This evening I'd like to share with you a simple recipe I've borrowed and modified from Toll House, called Oatmeal Scotchies. This is a cookie my mom has been making since I can remember and it has always been a fall/Christmas favorite. In fact many years ago when I didn't live too far away my mom and I would spend 2 days baking every type of cookie you could imagine and them bundle them up and give them to neighbors and the local police and fire departments. This second group was especially important because shortly before Christmas in 1995 we needed the services of the local fire department. It was one of the first times my parents had gone out socially since my dad's accident 2 years prior which left him paralyzed. Sadly this was also the night that the crack in our chimney showed in the form of a nasty fire. This was all a blessing in disguise because no one got hurt, and my mom got to redecorate the house for the first time in many many years. So in memory of their help we have tried to drop off cookies to these hardworking men and women every year. I encourage everyone who reads this to think of all those who don't get to be with their families during the holidays and perhaps even make a batch of cookies to share with these hardworking people.
Without further ado, here is the recipe for Oatmeal Scotchies (original link first below)
http://www.verybestbaking.com/recipes/18478/oatmeal-scotchies/detail.aspx

Oatmeal Scotchies

Ingredients: 
  • 1 1/4 c. all-purpose flour
  • 1 tsp baking soda
  • 1/2 tsp salt
  • 1 tsp pumpkin pie spice
  • 1 c. (2 sticks) unsalted butter
  • 3/4 c. granulated sugar
  • 3/4 c. packed brown sugar
  • 2 large eggs
  • 1 TBS vanilla extract
  • 3 c. quick or old-fashioned oats
  • 1 2/3 c. (11-oz. pkg.) Nestle Toll House Butterscotch chips
 Pre-heat the oven to 375F

Combine flour, baking soda, salt and pumpkin pie spice in small bowl. 


Beat butter, granulated sugar, brown sugar, eggs and vanilla extract in large mixer bowl. 


Gradually beat in flour mixture. 

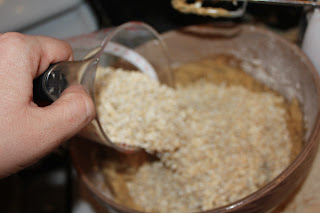
Stir in oats and morsels. 


Drop by rounded tablespoon onto parchment paper (WAY better than ungreased pans, because you just trash the paper when done and don't have to wash the pan!)
 Bake for 7 to 8 minutes for chewy cookies or 9 to 10 minutes for crisp cookies.
 These are so yummy and are perfect with a warm cup of spiced tea, or a glass of milk. The recipe makes a couple dozen so there are plenty to share with others. Happy eating!

Saturday, October 20, 2012

Stuffed Shells Florentine

Hello all!
Tonight I will share with you my interpretation of stuffed shells. I had an idea of what goes into them, but decided to wing it rather than follow a recipe and it was fantastic! I have a love for Italian food that is as wide as the ocean between here and Italy. Pasta, red sauce, white sauce, Italian sausage (minus the fennel, yuck!), Focaccia bread, more pasta, love it all. And this meal is fantastic for these days when its getting colder, when you feel like you need a hearty meal to warm you inside and out. The whole thing takes a bit over an hour, so its not something you can just "whip up," but it is absolutely worth it! This recipe also makes a whole lotta food, enough for 4 really hungry people or 6-7 people if you have a nice salad and bread on the side. While making this I did make a mistake and so I'll share my mistake with you so you don't make it too. When you make this dish, be sure to put the shells open side up. If you don't it won't taste bad, but the filling leaks out and it looks ugly. If you don't mind ugly food, you can put the shells in whatever way you want! Also, I took a chance and used fat free ricotta and it was perfect! So I was able to cut a bit of fat out of the recipe without sacrificing any of the taste, Matt even said he couldn't tell the base was fat free!

Stuffed Shells Florentine
Beautiful and delicious!
Ingredients:
1 box jumbo shells
2 lb of Ricotta (I used fat free and it was perfect!) 
1/2 c. Parmesan cheese
1.5 c. Italian cheese blend shredded cheese
1 clove of garlic (crushed)
2 tsp of basil
1 c. frozen spinach (thaw the 1 c. and smush it with a paper towel in a strainer to get rid of the excess water) 
1/2 tsp sea salt
1/2 tsp black pepper
1 jar of spaghetti sauce (I used our homemade, but anything will do!)
Canned sauce in a pan

Pre-heat oven to 350F
 
Bring water with a bit of salt to a boil and add noodles. Boil for 10 minutes and then drain. They will be a bit under cooked, don't worry!
 

Place the ricotta in a bowl
Plop!
Add the Garlic and Basil

I used garlic and basil cubes but fresh basil or dried basil would be lovely too
Add Parmesan and 1 c. of Italian cheese blend


Add Spinach
1 c. frozen spinach. I put this into the microwave for 1 minute to thaw
Spinach was placed in a sieve and and I used a paper towel to squish out the excess liquid
Squished spinach!
Add Salt and pepper and mix everything well
Salt & Pepper
All mixed together and lookin' good!
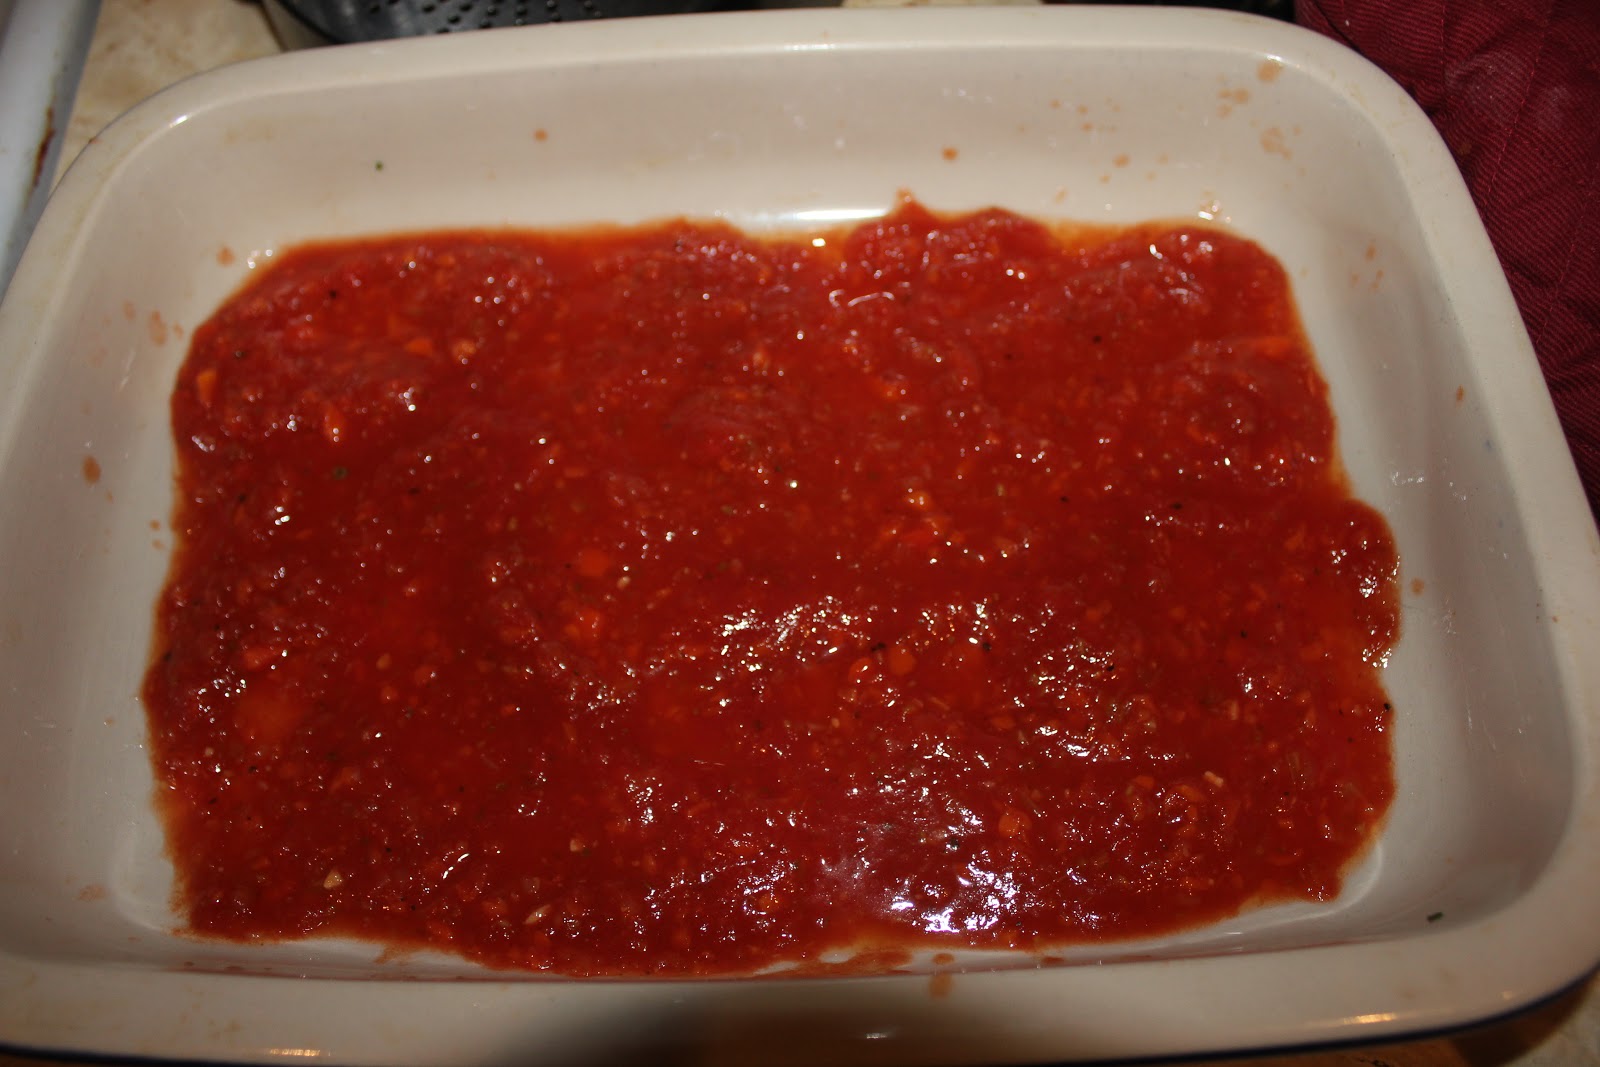
Spread pasta sauce onto the bottom of a pan
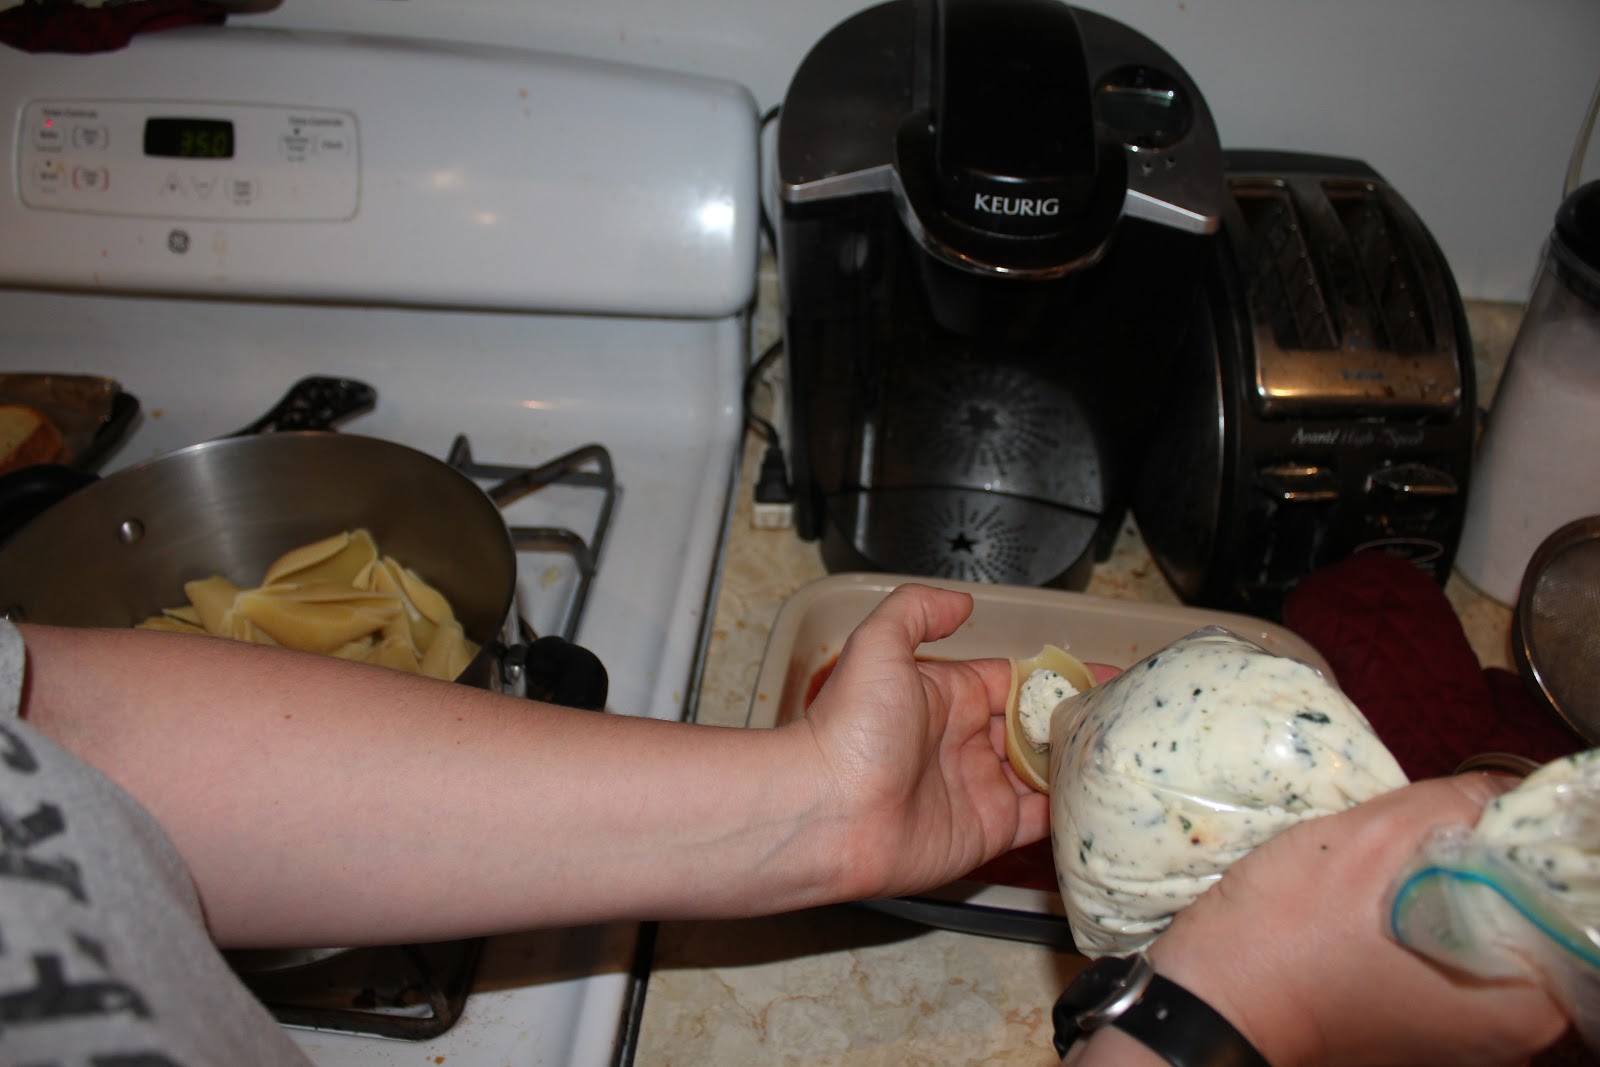
Add the mixture to a gallon bag (the poor man's piping bag) and snip the tip. Fill shells with cheese mixture


Place  shells filling side up in the pan
Tricked you! The square pan is the one I put the shells in upside down so I took a picture of this one
After you have filled up the pan, spoon more sauce over the shells and sprinkle with the last 1/2 c. of Italian blend cheese


Cover the pan with foil and bake at 350F for 20 minutes
Uncover and bake 5 more minutes until cheese has melted
Eat and Enjoy!!!!

This turned out very well and was not hard to make at all.  It was very filling and we have plenty of left overs for lunches next week. It also makes a pretty presentation when you make it for company so I'd say its a winner! Matt agreed it was very tasty and is looking forward to having it for lunch next week.
As I mentioned, the first pan I made I put the shells in upside down. here is how that came out...
Looks good

Used thinner sauce, but still looks good

Mmmm! Extra cheesy!

Whaaaaa???

Hmmm... Not what I was going for
UGLY! But still very tasty!
So no matter how you like your shells, pretty or ugly it still tasted great!
Hope you enjoy this recipe as much as we did, and as always...
Happy eating!

Wednesday, October 17, 2012

Coconut Lime Thai Chicken

Hello!
This is a lovely dish with just a wee bit of heat that really made a wonderful meal for Matt and I. It was very simple, and didn't take nearly as much time as I would have thought, though I was frustrated by the instructions to marinade for no more than 2 hours. This means I had to toss the chicken in the marinade when I got home and not eat until 10 pm or do it on a weekend. My solution for this was just to marinade for 30 minutes and it worked out just fine.
Let me just say, I LOVE Thai food! Ever since I met my friend's Parn, Pat, and Mo who are  from Thailand I have not been able to get enough Thai food! I'm a total wimp when it comes to heat, so they graciously kicked it down a notch so I didn't die, but still served some of the most delicious flavor-filled dishes I've ever had! I have never been able to replicate their dishes because I'm not as familiar with the spice palate from Thailand, but this comes close! Matt really enjoyed this and told me he was looking forward to having it for lunch. The next day when we re-heated it it was just as good. Served over Jasmine rice it was AMAZING! There are very few things I would change in this recipe, but I would have liked to have had more sauce. Also, I remember a lovely dish from a Thai restaurant in Missouri that tasted similar to this but had potatoes and egg plant in the sauce so I think that could make a really nice addition if you increase (maybe double the recipes) for the marinade which becomes a sauce after you boil it. Below is the recipe as I made it (no doubling of the marinade, you'll have to do that on your own), but before we get to that,  here is the link to the original recipe:
http://www.pinnedbydani.com/2012/04/02/lime-and-coconut-chicken/

Coconut Lime Thai Chicken
I decided to make this extra pretty and I hope you like it! The swirls and stripe are extra Siracha for spice
Ingredients:
~2 lbs boneless, skinless chicken breasts
3 Tbs oil
zest of 1 lime
1 tsp ground cumin
1 1/2 tsp ground coriander
2 Tbs soy sauce
1 1/2 tsp kosher salt
2 Tbs sugar
2 tsp curry powder
1/2 cup light coconut milk
1 tsp. of Siracha (or more if you like it spicier)
1/4 cup chopped fresh cilantro
Fresh limes, cut into wedges

Zest lime- This involves taking the shiny outer skin of the lime off using a grater or a zester


Mix all remaining ingredients except fresh cilantro and limes.


Add chicken and marinade to a ziploc bag and chill in the refrigerator for up to two hours.

In a heavy skillet or grill pan, heat 1 TBS of oil over high heat.

Once you are ready to cook the chicken, remove each breast from the marinade and set remaining marinade aside- DO NOT THROW AWAY! Cook the chicken in batches to prevent over crowding the pan.
This may be a bit too crowded. it would be better with only 4 breasts in the pan

Place the breasts in the hot pan and cook without turning for ~5 minutes Flip the breasts over and cook until the other side is golden, it shouldn’t take long depending on the thickness of your chicken.

Place cooked breasts on a plate in a warm oven or under foil while cooking the remaining chicken if you have more than your pan can handle.

Pour the marinade into a small saucepan and bring to a rolling boil. Boil continuously for at least 2 minutes, stirring occasionally so it doesn’t burn.


Sprinkle with fresh lime juice and cilantro. Serve with sauce on the side.

This was really a nice savory slightly spicy dinner! As I said before, I adore Thai food, so this is a great addition to my cooking arsenal! Matt said it is defintely good enough for company and I would have to agree. The flavor was great, the chicken was moist and as I mentioned before we can modify it now that I have an idea of what it tasted like as the recipe called for. My changes were using Light Coconut milk (because who doesn't want to cut calories when you can?) and using Siracha instead of Thai chillies (because I didn't have any on hand). I hope you all enjoy this as much as I did!
Happy Eating!